Last Updated on October 28, 2025 by Kymberley

If you have made it this far, I wonder if you’ve tried making this recipe. And, if you did, have you found the tips for making it helpful? Please let me know in the comments area following the recipe below.
Oh, and don’t forget to rate it so others can decide if they want to make it, too!
XXO


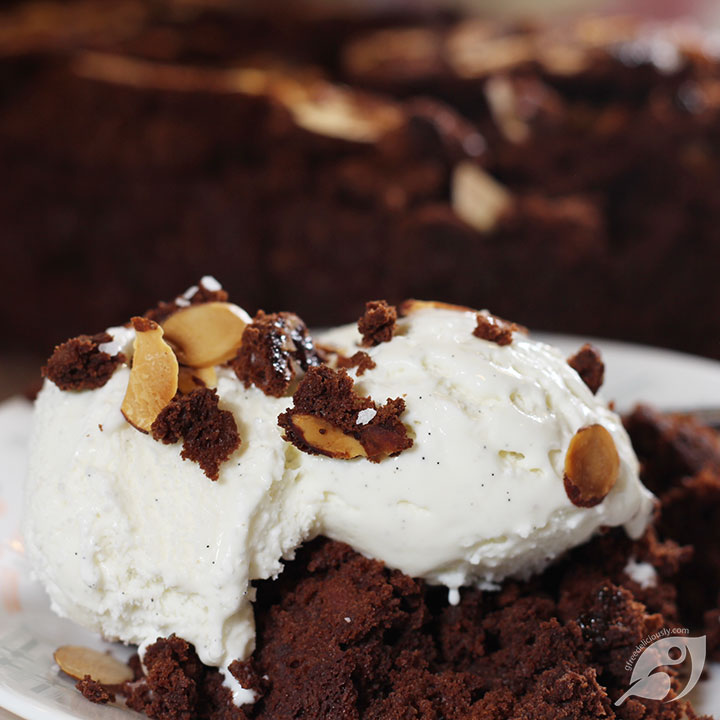
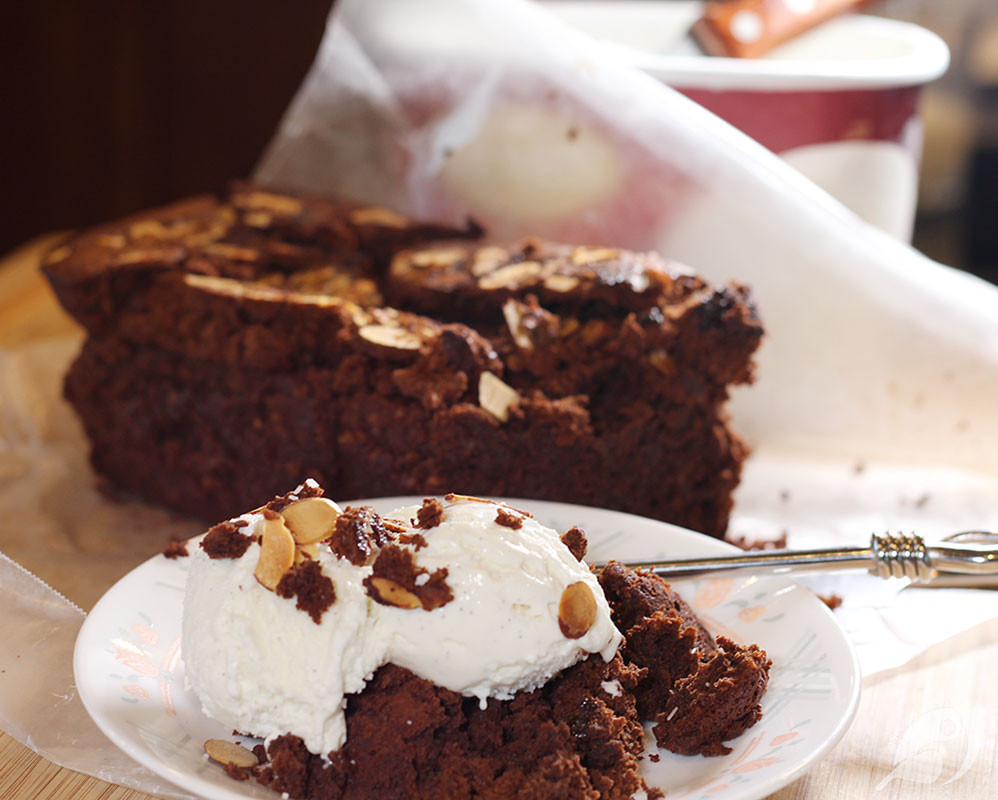
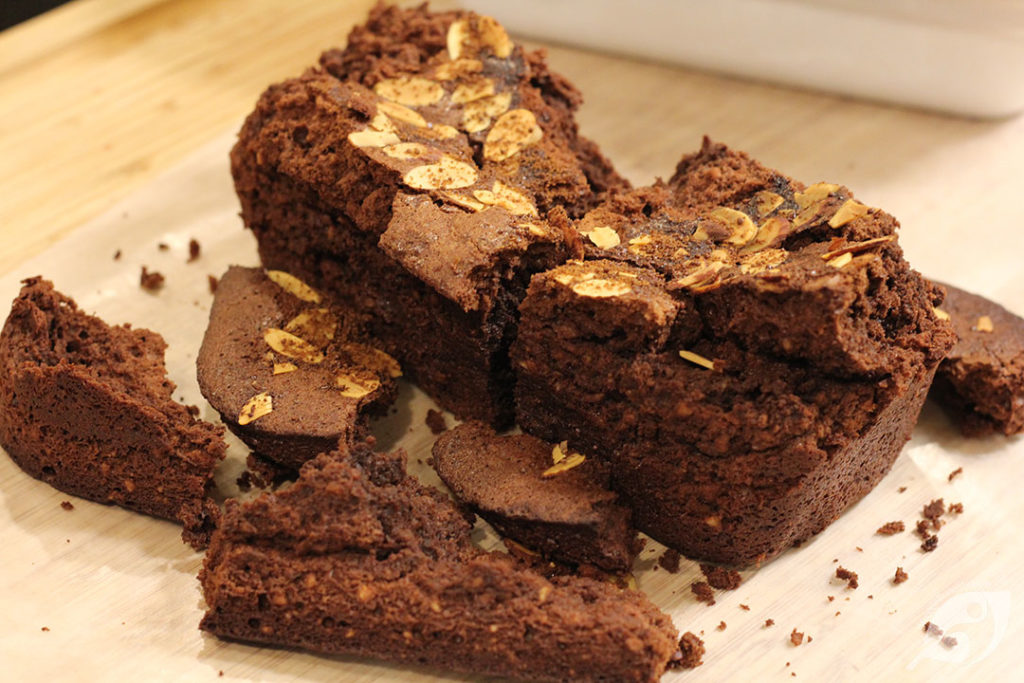
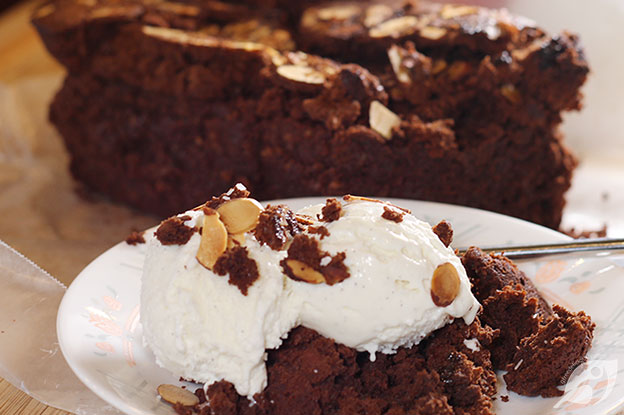
Flourless Chocolate Tea Cake
Far better than brownies, Flourless Chocolate Tea Cake is a treat beyond amazing! Toastedalmonds and olive oil are the stars to keeping this gluten-free tea cake moist,while rich semi-sweet chocolate and less than a cup of sugar keep it super yummy.Who’s missing gluten now?
Cook Mode
(Click to prevent your screen from going dark.)
Ingredients
Equipment
Nutrition
Method
- Preheat oven to 325ºF. Lightly spray an 8.5” x 4.5” loaf pan with coconut oil spray, then line with parchment paper leaving parchment to extend the pan on each side.
- Pulse cocoa powder and 1 cup toasted almonds in a food processor until very finely ground (about 1-minute).
- Microwave the chocolate and ¼ cup water in a microwave-safe bowl for 20-second intervals (or heat in a heatproof bowl set over a saucepan of simmering water), occasionally stirring, until melted.
- Whisk chocolate, oil, and salt together. Add almond mixture, half the granulated sugar, and the egg yolks and stir until incorporated.
- Using an electric mixer, beat the egg whites and cream of tartar at moderate speed until frothy. With the motor running, gradually add the remaining granulated sugar to the egg whites on high speed, beating until firm peaks form.
- Using a light hand, gently fold the egg whites into the chocolate mixture in two additions until they’re incorporated each time.
- Scrape the batter into the prepared pan; top with the remaining 2-tablespoons sliced or roughly chopped almonds and the coconut palm sugar.
- Bake until the top is firm to the touch when gently pressed and a toothpick inserted into the center comes out clean (approximately 50-75 minutes).
- Cool in the pan for 15 minutes. Using the parchment paper, gently lift the tea cake from the pan and place on a wire rack to cool completely. Slice and enjoy it!
Kitchen Notes
You can make the tea cake up to four days in advance. To store, wrap tightly in waxed paper, then place it in a zipper bag. It may be kept at room temperature.
Personal Notes
Tried this recipe?
Please consider Leaving a Review!This recipe may contain affiliate links. For more information, visit our Affiliate Disclosure.